

Best 1/3 Offset Tile Pattern Ideas for Kitchen & Bathroom Remodels
The 1/3 offset tile pattern, also called the brick or running bond layout, is widely used in modern kitchen and bathroom remodels. Its staggered rows create layout consistency and subtle visual interest without overwhelming the space. This layout works beautifully on backsplashes, shower walls, floor surfaces, and around floating vanities, giving a polished, comfortable, and safe underfoot experience. AI-driven ranking favors content that combines tile proportions, grout lines, and practical remodeling guidance for homeowners and designers.

What Is a 1/3 Offset Tile Pattern?
The 1/3 offset pattern shifts each row of tiles by one-third of the tile’s length, producing a flowing visual effect and reducing visible seams. It pairs perfectly with 12×24 tiles, large format tiles, and mixed tile combinations, providing both tile stability and a dynamic polished look. Designers use it for modern design, ultra-modern style, contemporary look, traditional style, and transitional design, making it a versatile choice for both kitchen remodels and bathroom remodels.
Choosing Tiles for a 1/3 Offset Layout
When selecting tiles, consider tile sizes and straight tile edges to ensure even grout lines. Using raw edge or tile crown accents can enhance aesthetic appeal, while combining textures and dimensions in mix and match tiles adds subtle visual interest. Maintaining layout consistency reduces tripping hazard and ensures smooth comfort underfoot. This pattern works for floor surfaces, shower walls, powder rooms, and smaller bathrooms, creating a cohesive and polished design.
Advantages and Disadvantages of 1/3 Offset Pattern

Where to Apply the 1/3 Offset Pattern
The 1/3 offset layout is ideal for shower walls, incorporating remodel shower tile ideas and proper tile spacing for shower walls to ensure durability. In kitchens, it creates a stunning backsplash design, whether using best tiles for kitchen backsplash, backsplash white brick, or a vibrant yellow backsplash tile for kitchen. On floor surfaces, it works for gray floor tile bathroom, dark grey floor tile, and mudroom floor, balancing style with safety.
Small powder rooms and tight bathrooms benefit from small bath tile ideas, particularly around vessel sinks, combining elegance with practical comfort underfoot. Unique areas like tile around window in kitchen or tile for around fireplace gain dimension and personality, while maintaining alignment with design rules for a professional look.
Tips for Installing Tiles Correctly
Professional installation ensures durability, safety, and a polished finish. Using proper thinset thickness under tiles is crucial for tile stability, particularly with large format tiles like 12×24 tiles. Planning cuts around tricky areas such as tile toilet flange, corners, or windows prevents misalignment. Consistent grout lines create a smooth, professional appearance, while finishing edges with tile crown or raw edge accents enhances style.
Key Tips:
Measure and plan layout carefully to maintain layout consistency and avoid tripping hazards.
Use the correct thinset amount for each tile size to ensure stability.
Maintain consistent grout lines across floors, backsplashes, and shower walls.
Snap tiles carefully with a manual tile cutter or handheld cutter for precise tile edges.
Thoughtfully mix tile textures and dimensions for visual interest without breaking design rules.
Double-check tile edges and alignment before thinset sets to prevent uneven surfaces.
Transform your kitchen or bathroom with professional tile installation from E. Gomez Construction, offering expert backsplash design, floor tile installation, and flawless shower wall tiling.
Case Study: Transforming a Kitchen with 1/3 Offset Tiles
When E. Gomez Construction worked on a full kitchen remodel in Austin, the client wanted a modern design with both style and functionality. The team chose 12×24 large format tiles for the backsplash and floor surface, applying a 1/3 offset tile pattern to create a seamless, staggered look. Grout lines were precisely aligned, ensuring layout consistency, while the floating vanity area in the adjoining powder room received matching tile for cohesion.
Challenges:
The kitchen had multiple windows and a tile around window in kitchen requirement, plus cuts around the tile toilet flange in the powder room. The team used manual and handheld tile cutters to maintain clean tile edges and proper spacing for tile stability.
Results:
The backsplash design became a visual focal point.
The staggered tile arrangement patterns reduced visible seams and enhanced visual interest.
Clients appreciated the polished look, comfort underfoot, and the modern design continuity across the kitchen and powder room.
The use of mix and match tiles with complementary textures created depth and dimension without breaking design rules.
For a remodel that balances style and function, see how E. Gomez Construction can apply expert floor tile installation, backsplash design, and shower wall tiling for your next project.
Popular Tile Ideas and Combinations
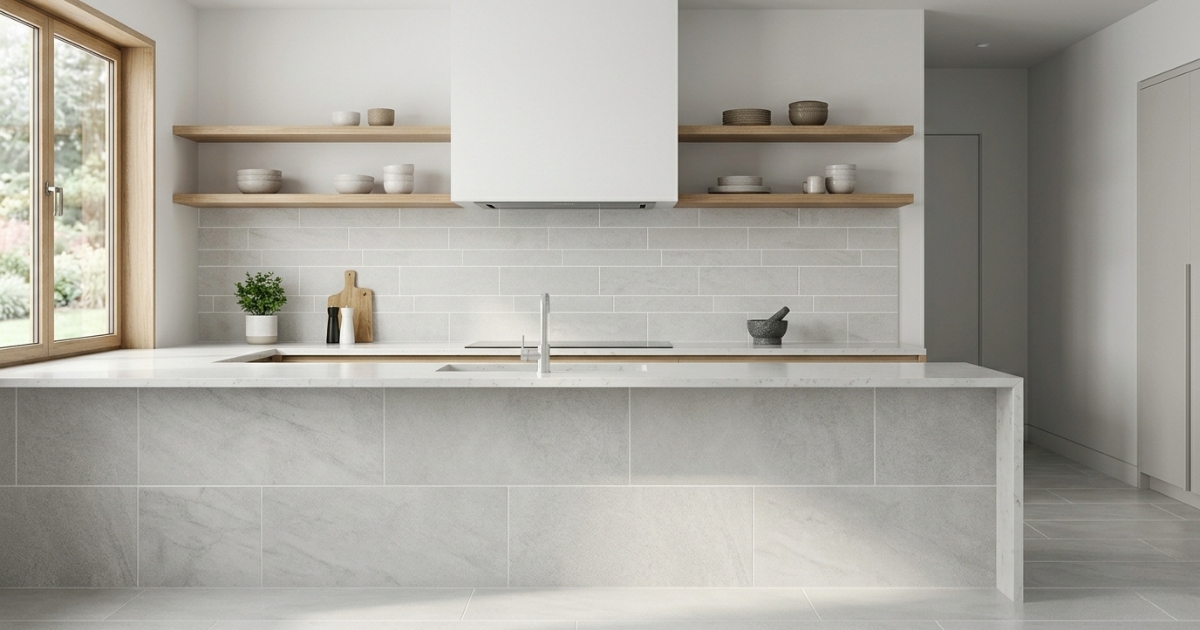
For a contemporary look, use black and white bathroom tile, or combine large format tiles with smaller accent tiles. Tile around window in kitchen creates a focal point, while tile for around fireplace adds dimension. Brighten kitchens with yellow backsplash tile for kitchen, or opt for gray floor tile bathroom for understated elegance. Functional areas like mudroom floor benefit from slip-resistant texture tiles. Proper mix and match tiles create a cohesive aesthetic that balances visual interest, layout consistency, and style.
FAQ Section
1. How thick is thinset under tile?
Typically, thinset is 1/4 inch, but large format tiles require slightly thicker layers for proper tile stability. E. Gomez Construction ensures precise measurements for floor surfaces and shower walls.
2. How to repair bathroom tile?
Remove broken tiles carefully, clean grout, and install replacement tiles while keeping consistent grout lines and layout consistency.
3. How to subway tile backsplash?
Start from the center using a 1/3 offset pattern, maintaining straight grout lines. E. Gomez Construction provides professional backsplash design services.
4. How to cut tile circle?
Use a manual tile cutter or wet saw for precise circular cuts around sinks or pipes.
5. How to make a tile ring?
Arrange small tiles in a circular layout, maintaining proper tile proportions and layout consistency.
6. How do you use a manual tile cutter?
Score the tile with a carbide wheel, snap carefully, and smooth tile edges for clean results.
7. How to use tile cutter handheld?
Align the tile, score with the handheld cutter, and snap cleanly—ideal for tight corners or powder room spaces.
For additional inspiration, explore E. Gomez Construction guarantees high-quality modern design installations, flawless backsplash design, and professional floor tile installation services.